Category
Materials characterization; Cleanrooms; Microscopy
Manufacturer and Model
Various
Specifications
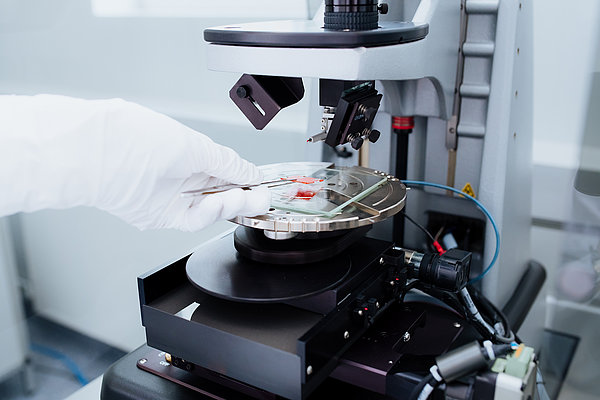
Dektak 150:
- Measurement technique: Stylus profilometry
- Measurement capability: Two-dimensional surface profile measurements
- Sample viewing: 640 x 480-pixel (1/3in.-format) camera, USB
- fixed magnification: 2.6mm FOV (166X with 17in. monitor)
- manual zoom: variable 0.67 to 4.29mm (644X to 100X with 17in. monitor)
- Stylus sensor: Low-Inertia Sensor (LIS 3)
- Stylus force: 0.03 to 15mg (N-Lite sensor)
- Stylus radius: 12.5μm and 2.5μm
- Sample stage: Manual X/Y/Θ, 100 x 100mm X-Y translation, 360° rotation, 150mm (6in.) travel,1μm repeatability, 0.5μm resolution
- Software: Dektak software running under Windows XP, Step Detection software (std.), Stress Measurement software, 3D Vision analysis software
- Performance:
- Scan length range: 55mm (2.16in.)
- Data points per scan: 60,000 maximum
- Max. sample thickness: Up to 100mm (4in.)
- Max. wafer size: 150mm (6in.)
- Step height repeatability: 6Å, 1 sigma on 0.1μm step
- Vertical range: 1mm (0.039in.)
- Vertical resolution: 1Å max. (at 6.55μm range)
Zygo 7100:
- Measurement technique: 3D optical interferometer
- Field of view: from 0.5 to 2 mm
- Objectives: 5x, 10x and 50x
- Optical resolution: ≤ 4µm
- x/y scan rate: ≤ 26µm/sek
- Sample stage: Motorized 150 mm x/y travel; Manual ±6° tip/tilt
- Sample maximum size: 89 x 203 x 203 mm
- Vertical resolution: 0.1nm
- Vertical scan range: 150µm
- Focus: Motorized manual and auto focus
- On-screen live display: 23" TFT monitor with live display
- Scanning and processing software: ZYGO MetroPro
Applications and capabilities
- Transparent films/photoresist and other films thickness
- Thin- and thick-film measurements
- Roughness studies
- Surface quality and defect review
